Mastering the Art of Baking Traditional Canelés: Tips for Perfection
Ah, the canelé – that crispy, caramelized beauty with a soft, custardy heart. It’s one of those little pastries that can make anyone swoon. But let’s be honest, nailing that perfect texture takes some know-how. Fear not, though – with these tips, you’ll be baking canelés that would make Bordeaux proud!
1. Copper Molds Only – No Compromising on Crunch
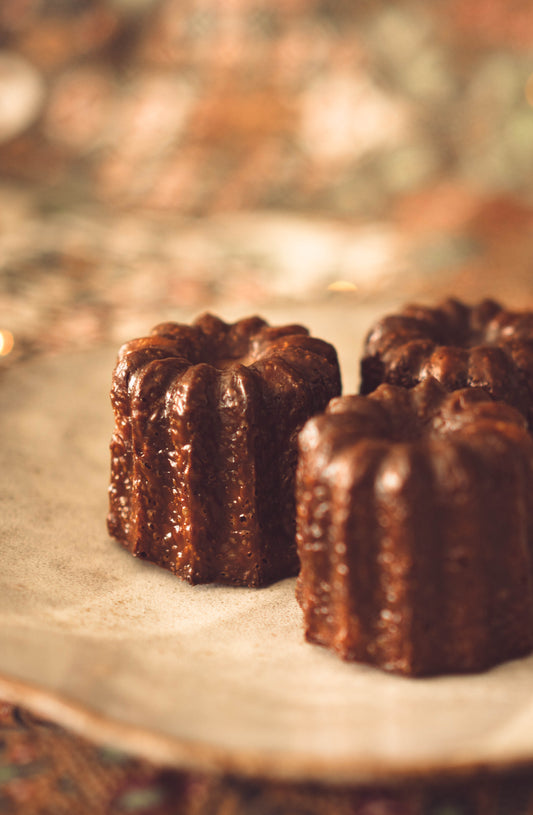
If you want that signature crispy, caramelized exterior, copper molds are non-negotiable. Sure, silicone molds are cheaper, but they just don’t deliver the same crunch. If you’re serious about your canelés, invest in copper. Your taste buds (and pastry-loving friends) will thank you.
Chill Out with the Batter
2. Chill Out with the Batter
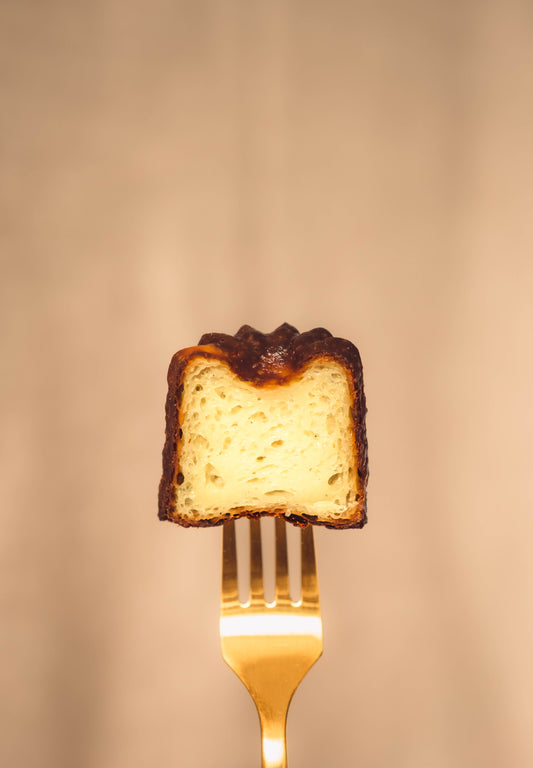
Your canelé batter needs to rest. After mixing it, let it chill in the fridge for at least 24 (it can go up to 4-5 days). Yes, it’s a bit of a wait, but this is where the magic happens! The resting period ensures a smooth, custardy center once baked.
3. Grease It Up – The Easy Way
Just use cooking spray to coat your molds. It’s quick, simple, and still gives you that glorious crispy crust. Plus, no sticky beeswax cleanup afterward!
4. The Heat is On – Get Your Oven Temps Right
Canelés need a two-stage bake. Start them at 230°C (445°F) for 15-20 minutes to get the crispy exterior, then lower the oven to 200°C (390°F) and bake for another 35-40 minutes to finish the inside. These times work well for our oven, but you might need to adjust based on yours – keep an eye on the color, aiming for a deep golden brown.
5. Brown is Good – Don’t Be Scared of Color
Don’t panic if your canelés look darker than expected. They need to be very dark for that perfect crunchy shell. Underbaking leaves them chewy, so go for that deep golden brown.
6. Eat Them Fresh – Or As Close to It as You Can
Canelés are best when eaten fresh. If you must store them, a metal biscuit tin works best – not an airtight container, as that’ll ruin the crunch. If you’ve got leftovers, pop them back in the oven to revive the crispy crust. (here you'll find our blog post on how to keep your canelés for few days)
Conclusion
Baking canelés takes patience and precision, but once you’ve mastered the technique, you’ll have a pastry that’s irresistible. Get those molds, mix up your batter, and let the oven work its magic. Canelé perfection is closer than you think!


